DVSwitch-ServerをRaspberry Pi Zero 2 Wで動かす完全ガイド(Bullseye対応)失敗、修復例
2025年12月4日
2025年12月12日
DVSwitch-ServerをRaspberry Pi Zero 2 Wで動かす完全ガイド(Bullseye対応)
✅ 概要
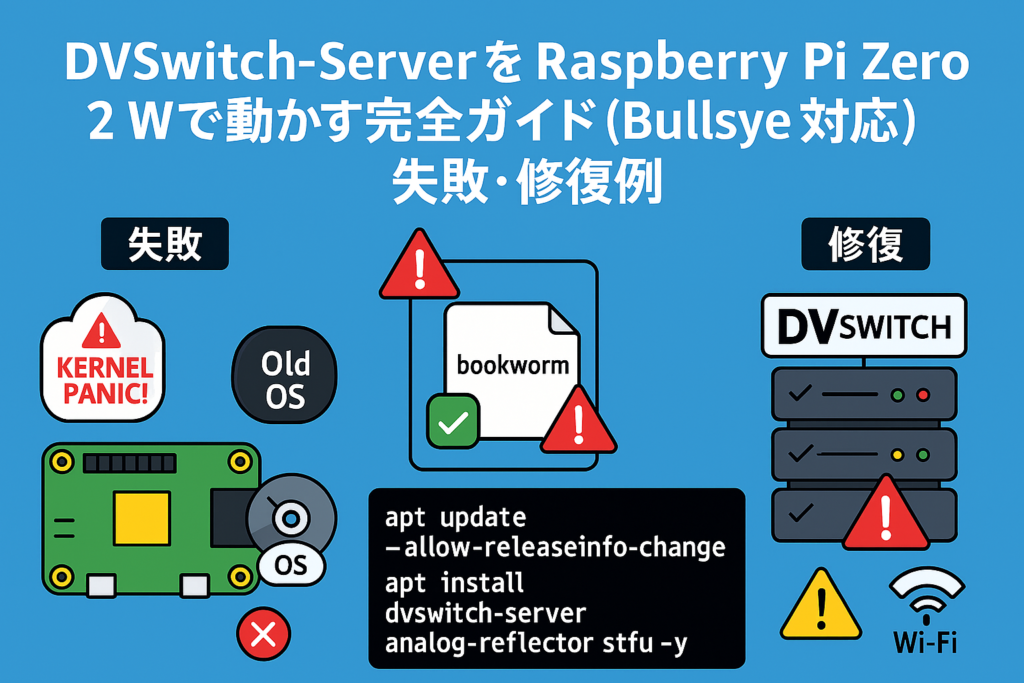
Raspberry Pi Zero 2 WでDVSwitch-Serverを動かすための手順をまとめました。\ ポイントは、Bullseye(Debian 11)には専用リポジトリがないため、buster用スクリプトを流用することです。
1. OSイメージの準備
- なぜこのイメージ?\ Raspberry Pi OS Bullseye(Debian 11ベース)を使用するため。DVSwitchはBullseye専用リポジトリを提供していないので、最も近い安定版であるbuster用を流用します。
2. 初期設定とスクリプト準備
sudo su –
cd /tmp
wget http://dvswitch.org/bookworm
chmod +x bookworm
apt update –allow-releaseinfo-change
./bookworm
apt update
apt install dvswitch-server analog-reflector stfu -y
解説
wget http://dvswitch.org/bookworm\ → Debian 12(bookworm)用スクリプトを取得。ただしBullseyeでは依存関係が崩れるため、後でbusterに切り替えます。chmod +x bookworm\ → ダウンロードしたスクリプトに実行権限を付与。apt update --allow-releaseinfo-change\ → リポジトリ情報の変更を許可して更新。./bookworm\ → スクリプト実行(この時点ではテスト的)。apt install dvswitch-server analog-reflector stfu -y\ → DVSwitch関連パッケージを一括インストール。
3. buster用スクリプトでリポジトリ追加
cd /usr/local/dvs
./dvs
wget http://dvswitch.org/buster
chmod +x buster
./buster
解説
- なぜbuster?\ Bullseye専用スクリプトがないため、最も近い安定版であるbuster用を流用するのが推奨。
./busterで行うこと- DVSwitch公式GPGキー追加
/etc/apt/sources.list.d/dvswitch.listにリポジトリ追加- キーリング配置
4. sources.list修正
nano /etc/apt/sources.list.d/dvswitch.list
以下のように修正:
deb [signed-by=/usr/share/keyrings/dvswitch-keyring.gpg] http://dvswitch.org/DVSwitch_Repository buster hamradio
- なぜ修正?\ Bullseyeではbusterリポジトリを使うため、APTが正しく参照できるようにする。
5. パッケージ更新とインストール
apt update
- インストールされる主なコンポーネント
- dvswitch-server:メニュー、ダッシュボード、モニタ機能
- analog-reflector:hUC対応アナログ反射器(WebUIあり)
- stfu:BrandMeister直結用
- その他:mmdvm-bridge, md380-emu, lighttpd, php, mosquittoなど
6. WebUIアクセス
DVSwitchのWebUIにアクセス:
http://<RaspberryPiのIP>:2812/
例:http://192.168.1.59:2812/
✅ まとめ
- Bullseyeではbuster用スクリプトを流用するのがポイント。
apt update --allow-releaseinfo-changeでリポジトリ情報の変更を許可。- 最終的に
apt install dvswitch-server analog-reflector stfuでDVSwitch一式を導入。
補足:なぜbookwormはNG?
- bookwormはDebian 12用。Bullseyeで使うと依存関係が崩れ、パッケージが見つからない問題が発生。

- JJ2YYK
- 🆔 DMRを始める最初の一歩!「DMRID」を取ろう―――――――――――――――――― 2026年2月25日
- 📻 DMR無線機で、直接交信をしましょう 2026年2月23日
- 📡 DMRを、もっとシンプルに 2026年2月23日
- 【頒布のご案内】OpenCCVoice オリジナルプリント基板(数量限定) 2026年2月19日
- 【プロジェクト公開中】DMRデジピータ用 音声ID送出ユニット「OpenCCVoice」 2026年2月19日